Published on : 20 December 2025
How to Pack Pictures for Moving Without a Scratch
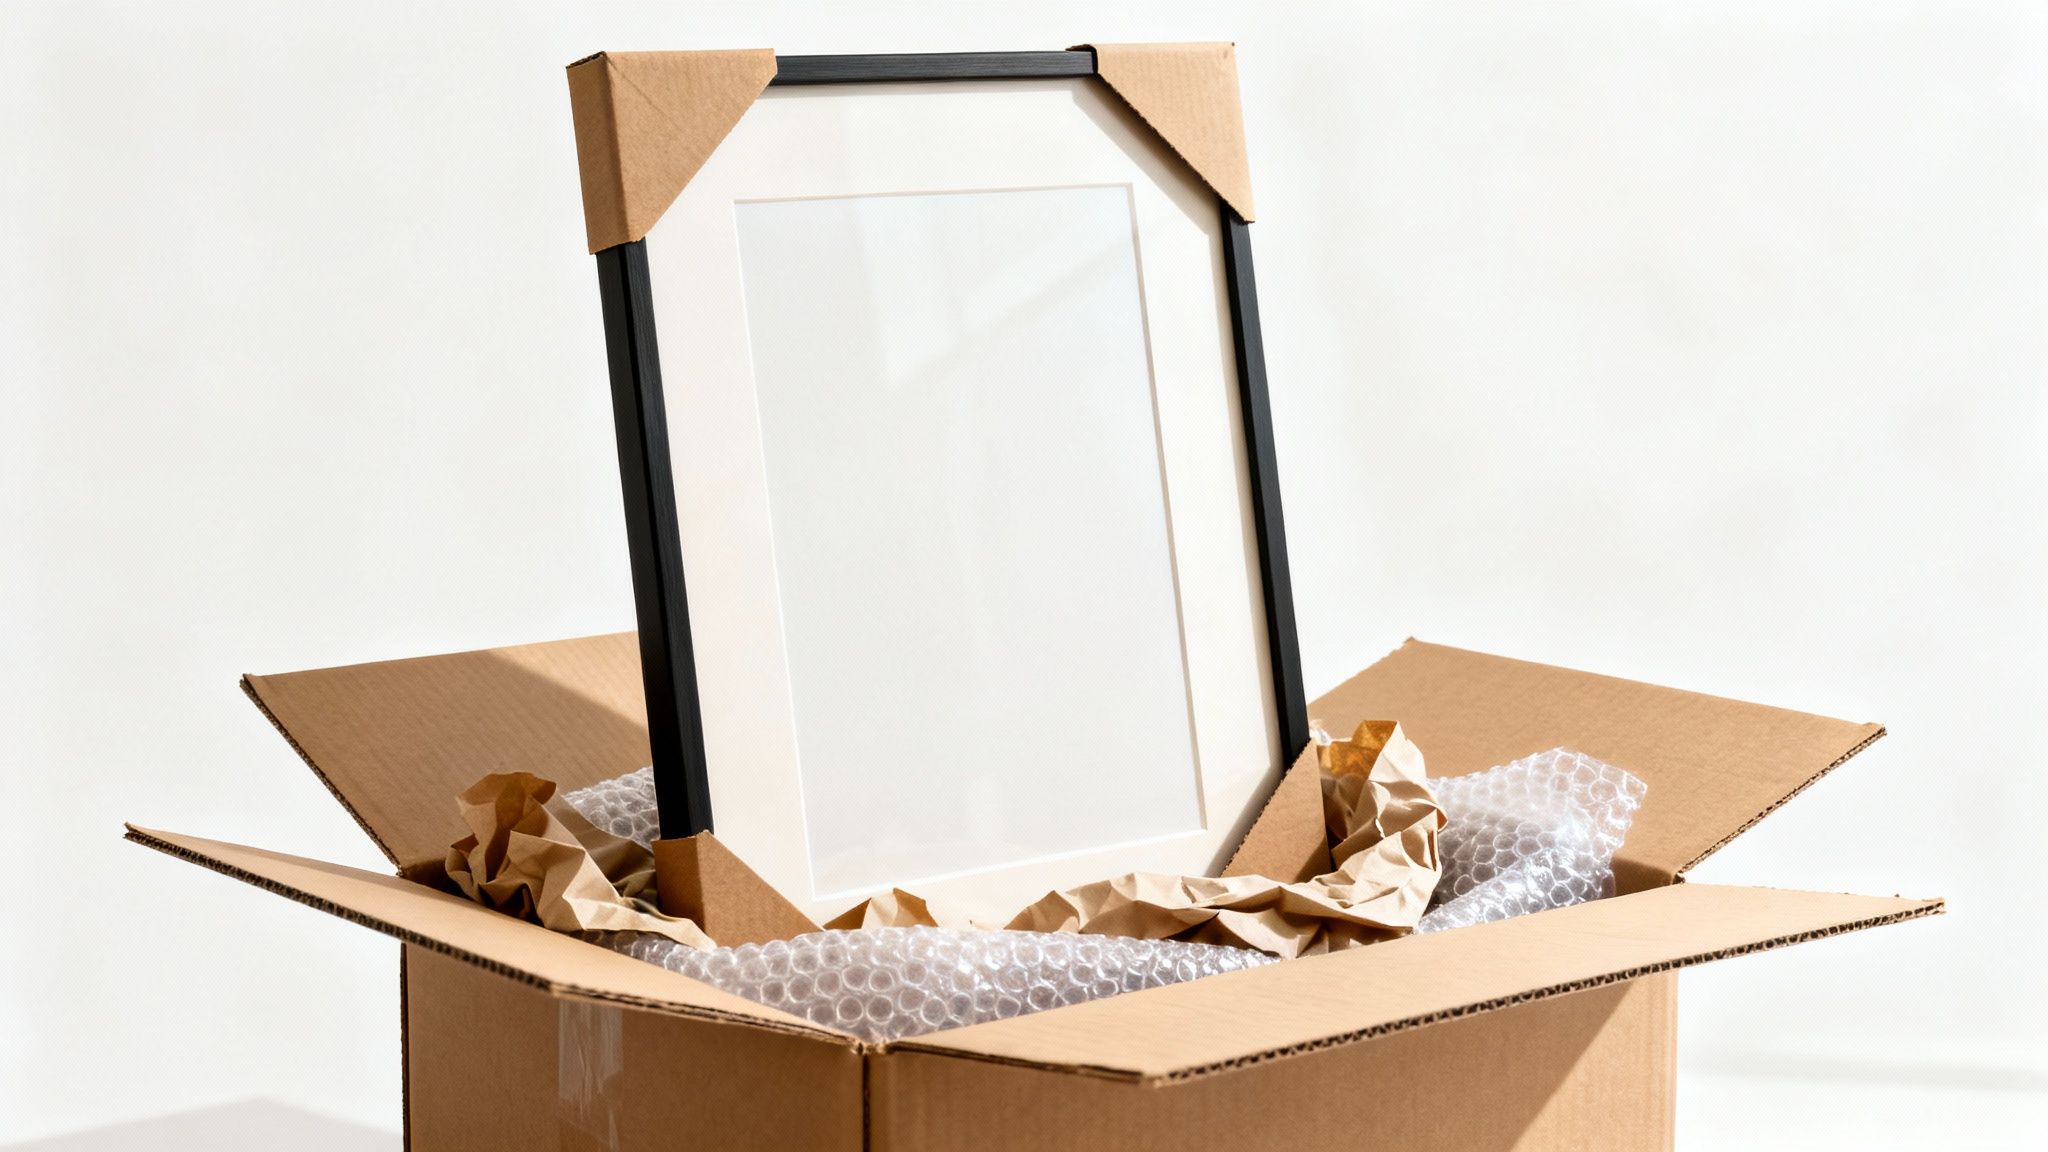
Before you even think about wrapping your first picture, you need to pull together the right toolkit. Getting this first step right is the secret to a damage-free move. I’ve seen it time and time again: using the wrong supplies is the quickest way to end up with cracked glass or a scuffed, dented frame. Think of this as your pre-move checklist for safeguarding your memories and investments.
Gathering Your Packing Arsenal
To properly protect your art, photos, and mirrors, you're going to need more than just a few standard boxes and a roll of tape. Professional movers rely on specific gear designed to absorb shocks and prevent surface damage. Honestly, investing a small amount in the proper kit now can save you from costly and heartbreaking damage later on.
It’s just a false economy to skimp here. With the average UK house move costing around £1,300, trying to save a few quid on packing materials for fragile items is a huge gamble. Damage claims for poorly packed pictures can average £500 per item—a significant and completely avoidable expense. We know from experience that using specialised mirror and picture boxes can reduce the risk of damage by as much as 70%.
Your Picture Packing Supply Checklist
To give you a clearer idea of what you’ll need, this table breaks down the essentials from the optional extras. It’s a quick comparison to help you decide what you truly need to protect your artwork.
| Material | Primary Use | Best For | Pro Tip |
|---|---|---|---|
| Acid-Free Paper | First protective layer against surfaces. | Photos, canvases, and prints where ink or paint could be damaged by standard paper. | Newspaper ink can transfer and its acidity can yellow prints over time. Always use acid-free for valuables. |
| Bubble Wrap | Main shock absorption and cushioning. | Wrapping frames, glass, mirrors, and bulky art pieces for impact protection in transit. | Always place the bubbles facing inwards towards the item for the most effective cushioning. |
| Corner Protectors | Reinforcing the most vulnerable points. | Wooden or composite picture frames and canvases to prevent crushing and impact damage. | If you don't have foam ones, you can make your own from folded cardboard for a budget-friendly alternative. |
| Picture Boxes | Secure, snug outer container. | Valuable or large pictures, mirrors, and canvases that need rigid, flat protection. | Telescopic boxes that adjust to the size of your frame are best, as they stop the item from sliding around inside. |
| Strong Packing Tape | Securing all wrapping and sealing boxes. | Assembling boxes and taping bubble wrap securely in place. | Don't skimp! A cheap tape can come unstuck, unravelling all your hard work. Go for a quality brand. |
| Marker Pens | Labelling for safe handling. | Clearly marking boxes "FRAGILE," "GLASS," and drawing arrows for "THIS WAY UP." | Use a thick, permanent marker so the labels are easy to spot from a distance in a cluttered moving van. |
Having this full arsenal ready to go means you're prepared for any packing challenge that comes your way, making the entire process quicker, safer, and a whole lot less stressful.
The Non-Negotiables
Your primary goal here is to create a protective cocoon around each and every item. This usually involves several layers, each doing a specific job.
-
Acid-Free Paper: This is your first line of defence. Unlike newspaper, which can transfer ink and contains acids that will damage photos and canvases over time, acid-free tissue paper provides a safe first layer. It protects the surface without causing any chemical reactions down the line.
-
Bubble Wrap: This is your main cushioning agent, pure and simple. Those brilliant little air-filled pockets absorb shocks from bumps and vibrations on the road. For the best results, make sure the bubbles are facing inwards, towards the frame, for maximum protection.
-
Foam or Cardboard Corner Protectors: Frames are most vulnerable at their corners, period. Sliding these protectors onto each corner before you start wrapping provides rigid support against impacts and stops them from getting crushed inside the box.
-
Specialised Picture Boxes: These are typically flat—and often telescopic—boxes designed to fit frames snugly. They’re made from sturdy, double-wall cardboard and are the absolute best choice for any valuable or large pieces. Using a box that's the right size is crucial; it’s what stops the frame from shifting around and getting damaged.
-
Strong Packing Tape and Labels: Once you've done all that hard work, secure everything with high-quality packing tape. And don't forget a permanent marker to clearly label each box with "FRAGILE," "GLASS," and arrows indicating which way is up. It’s a simple visual cue for anyone handling it.
Pro Tip: For a budget-friendly alternative on less valuable items, a clean towel or an old blanket can work in a pinch. However, they don't offer anywhere near the same level of impact protection as professional materials and should be used with caution for anything sentimental or expensive.
The Professional Wrapping Method
Now that you've got your materials sorted, we can get stuck into the wrapping itself. How you wrap a picture is every bit as important as what you wrap it with. A methodical, professional technique makes sure every layer does its job, creating a protective shell that can handle the inevitable bumps and jolts of moving day.
Start with the Glass
For any picture, frame, or mirror with a glass front, this first step is absolutely crucial.
Grab a roll of masking tape and stick it directly onto the glass in a big ‘X’ shape, right from corner to corner. If you’re dealing with a particularly large mirror or frame, add a starburst pattern (like an asterisk *) over the top of the 'X' for more thorough coverage.
This simple trick won’t stop the glass from breaking, but it does something arguably more important: it holds the pieces together. If the worst happens and the glass does crack under pressure, the tape keeps all the dangerous shards in place, stopping them from sliding around and slicing into your artwork or print. It’s a tiny bit of effort for a massive amount of protection.
Real-World Scenario: Just imagine a large, framed wedding photo. Without the 'X-tape' method, a single crack during the move could send sharp glass shards scraping across the photo, causing scratches that you can't fix. With the tape in place, the broken glass is held securely, keeping the precious photograph underneath safe from harm.
Create a Safe Barrier for Canvases and Prints
Next, let's focus on the surface of the artwork itself. For oil paintings, delicate prints, or photographs, you have to create a barrier before any bubble wrap gets near it. Placing plastic bubble wrap directly onto a canvas can trap moisture or leave little circular imprints on the paint, especially if temperatures change during transit.
To prevent this, lay a sheet of acid-free paper over the entire face of the picture. This special pH-neutral paper works as a safe, breathable shield. You can find high-quality, large-format sheets of acid-free tissue paper that are perfect for the job. Just secure it lightly with a small bit of masking tape on the back of the frame.
This diagram shows you the core sequence for packing most framed items, making sure each layer provides its own specific type of protection.

This process flow—from that delicate first layer to the rigid final box—is the industry standard for a very good reason. It just works.
Apply Cushioning and Corner Protection
With the surface safely covered, it’s time to add the real cushioning.
-
Add Corner Protectors: Before you do anything else, slide foam or cardboard corner protectors onto all four corners of the frame. These are the most vulnerable points for chips, dents, and crushing damage. If you don't have any pre-made ones, you can just fold pieces of cardboard into triangles and tape them securely over each corner.
-
Wrap with Bubble Wrap: Lay the frame face-down on a big sheet of bubble wrap. Now, remember the golden rule: bubbles facing inwards. This lets the bubbles hug the frame's shape and provide the best possible cushioning. Wrap the whole thing like you’re wrapping a present, making sure you have at least two full layers of bubble wrap all the way around.
-
Secure with Tape: Use strong packing tape to secure the bubble wrap nice and tight. Run tape both horizontally and vertically around the package to create a solid, secure bundle. You want to make sure nothing can come loose, but don't pull the tape so tight that it puts pressure on the frame. Your wrapped picture should now feel like a single, solid unit, ready for its box.
Boxing Your Artwork for Maximum Protection
A perfectly wrapped picture is only half the battle. The real test comes when it’s placed inside a box, which acts as its suit of armour during the move. Picking the right box and prepping it correctly is what separates a safely arrived piece from a moving day disaster.
Your choice of box really depends on the item's value and size. For smaller, less precious photo frames, a standard double-wall moving box can do the job, provided it’s packed well. But for anything large, valuable, or irreplaceable like a big mirror or a commissioned canvas, a specialised picture or mirror box is a worthy investment. These are designed for a snug fit, which is the key to stopping it from sliding around.
Preparing the Box for Impact
Before you even think about sliding a frame inside, you need to build a shock-absorbing base. This isn't just about filling space; it's about creating a buffer zone that protects against the constant vibrations of a moving van.
Grab a generous amount of crumpled packing paper or a layer of bubble wrap and create a soft, cushioned bed at the bottom of the box. You should aim for a depth of at least two to three inches. This simple step ensures that any jolts from the road are absorbed by the packing material, not your frame.
This becomes especially critical when handling sentimental items. UK moving stats show older movers often struggle with downsizing art collections, and the stress of protecting heirlooms contributes to why 72% of over-65s find moves incredibly difficult. Using the right techniques is key to safeguarding these irreplaceable pieces.
The Golden Rule of Placement
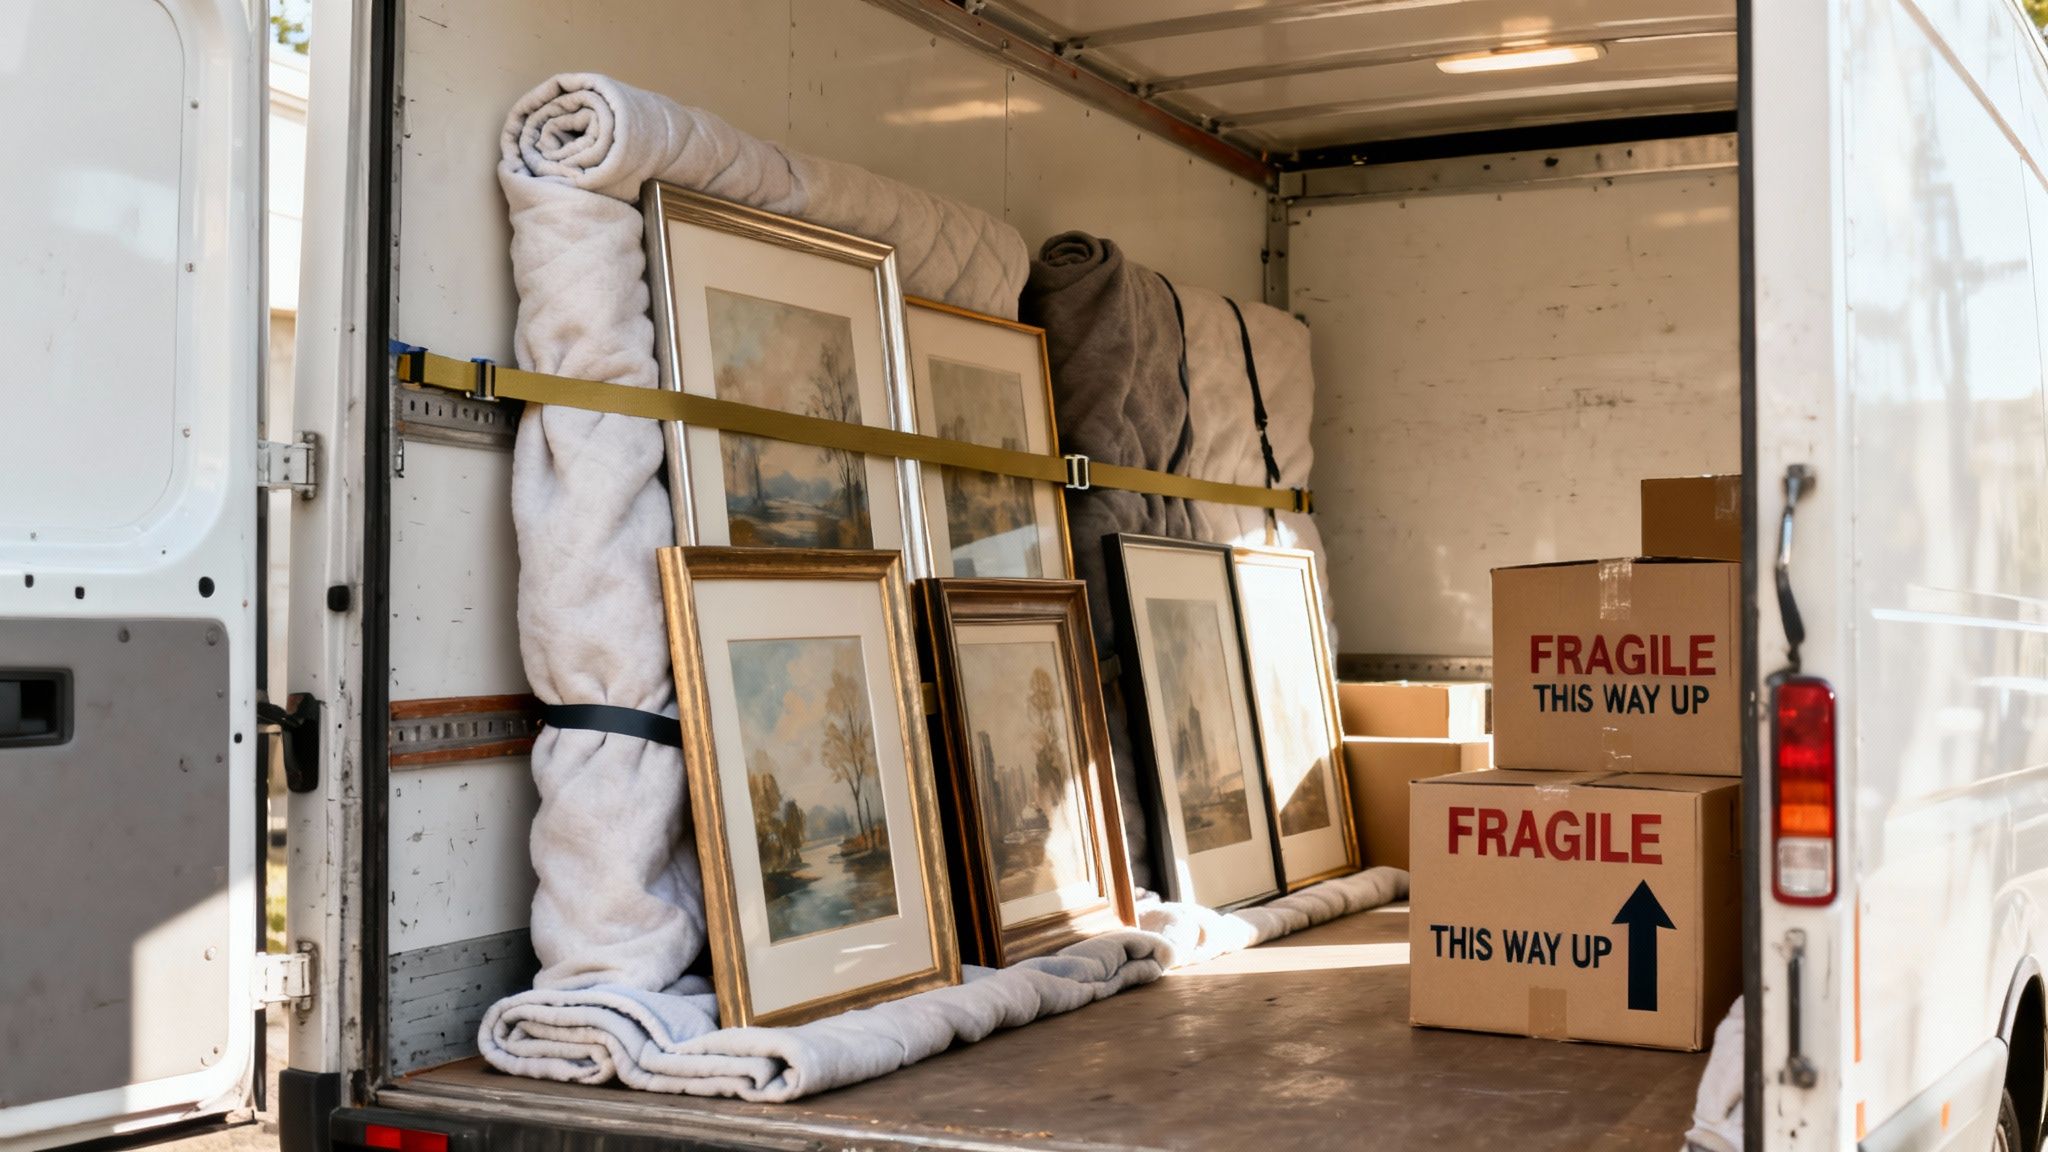
Once the base is ready, it's time to place your artwork inside. There is one non-negotiable rule when learning how to pack pictures for moving: always place frames vertically on their edge.
Never, ever lay a picture flat. Laying a frame flat concentrates every bit of pressure and vibration directly onto the glass or canvas, making breakage almost a certainty. By standing it on its strongest edge, you distribute forces along the sturdy structure of the frame itself.
Key Takeaway: Think of it like storing books in a library. You wouldn't stack hundreds of books flat on top of each other; you stand them upright on a shelf. The same principle applies here for maximum structural integrity.
When packing multiple pictures in one box, you can group similar-sized items together.
- Place the heaviest item in first, resting it securely against one of the box walls.
- Slide in the next frame, making sure they are back-to-back or front-to-front. This stops the hanging hardware on one from scratching the front of the next.
- Use a flattened piece of cardboard or bubble wrap as a divider between each frame for an extra layer of protection. This stops them from rubbing against each other in transit. Professional-grade materials like protective foam corners for frames can enhance this protection even further.
Finally, fill every single gap. Use crumpled packing paper, spare bubble wrap, or even soft towels to stuff into any empty space at the top and sides. The goal is total immobilisation. When you gently shake the sealed box, nothing should shift or rattle inside.
Smart Labelling and Strategic Loading
You’ve done the hard graft of wrapping and boxing everything up, but these final steps are just as vital. A perfectly packed box is only safe if it’s handled with care, and that all comes down to clear communication and smart placement in the moving lorry. This is where you prevent last-minute mishaps and make unpacking at the other end a far smoother process.
Think of each box's label as its handling instructions. Just scribbling "FRAGILE" on the top isn’t enough information for a mover in a hurry. An effective labelling system tells handlers everything they need to know at a single glance, ensuring your precious items get the respect they deserve on moving day.
Creating a Foolproof Labelling System
Your goal here is to be clear, consistent, and concise. A jumble of notes is just as bad as no label at all. Adopt a simple system and stick to it for every single box containing pictures, mirrors, or artwork.
Here’s what every single label should include:
- Bold "FRAGILE - GLASS" Warning: This needs to be the most prominent text on the box. Use a thick permanent marker to write it on at least three sides so it's impossible to miss, no matter how the box is picked up.
- Contents Description: Be specific. Instead of just "pictures," write "Living Room Framed Photos" or "Hallway Large Mirror." This helps you find specific items in a flash when you're unpacking.
- Destination Room: Clearly mark which room the box should go to in your new home (e.g., "MASTER BEDROOM," "STUDY"). This stops heavy, fragile boxes from being lugged around more than necessary.
- Directional Arrows: Draw large, clear "THIS WAY UP" arrows on all four vertical sides. This is the single most important instruction to keep frames and mirrors stored safely on their strong vertical edge.
For a professional and highly visible touch, you can back up your handwritten labels with pre-printed stickers. Using professionally made fragile labels makes your warning stand out instantly, catching the eye of anyone handling your belongings.
Loading the Moving Van Strategically
How you load the van is the final piece of the puzzle. The golden rule for fragile items like these is straightforward: last in, first out. This minimises the time they spend on the lorry and reduces the chance of them being crushed as other items are shifted around.
Never, ever place boxes of pictures at the bottom of a stack. The weight from above can easily crush the cardboard and shatter the glass inside. Instead, you need to identify the safest spots in the moving vehicle for your artwork.
The best location is typically upright and flush against a solid wall of the van, well away from any heavy furniture that could shift and fall during transit. A great trick is to secure them in place between two sturdy but soft items, like a mattress and the side of the van, to prevent any toppling.
Use moving blankets, old duvets, or even flattened cardboard to create a protective buffer zone. Wedge these soft materials between your picture boxes and any hard surfaces. This final layer of cushioning absorbs road vibrations and gives you peace of mind, ensuring your cherished pictures arrive at your new home in perfect condition.
You’ve made it. Your precious pictures and mirrors have arrived at your new home in one piece, but the job isn't quite over yet. This last leg of the journey – the unpacking and temporary storage – is just as critical as the packing itself. It's so tempting to rush at this point, but a moment of haste can undo all your careful work.
First things first, find all those boxes you carefully labelled "FRAGILE" or "ARTWORK". Get them out of the main chaos immediately. High-traffic zones like hallways and doorways are a recipe for disaster. Tuck them away in a designated, quiet corner of the room they belong in. This stops them from getting kicked, tripped over, or crushed while the bigger furniture is being shifted around.
The Great Unwrapping
When you're finally ready to see your pictures again, take a deep breath and go slowly. Resist that urge to just tear everything open in a frantic rush.
- Slice, Don't Rip: Use a box cutter or a pair of scissors to cut the packing tape. Always make sure you're cutting away from the item inside to avoid putting a nasty scratch across the frame or canvas.
- Peel with Patience: Unwrap the layers of bubble wrap and paper gently. If you taped an 'X' over any glass, peel the masking tape off carefully. Start from a corner and pull it back at a low angle to prevent any strain on the glass.
The goal here is control. A deliberate, methodical approach means you won't accidentally drop a frame or scuff its surface as you free it from its protective cocoon.
A Word of Warning: Treat the unpacking with the exact same care you used for packing. Rushing is the number one cause of damage at this final stage, undoing all your hard work in a matter of seconds.
Smart Temporary Storage
It’s a rare move where every picture gets hung the moment it's unpacked. Most of the time, they’ll need to be stored safely for a little while. Where you put them now matters immensely. Stay well clear of damp garages, humid cellars, or any room that gets blasted with direct sunlight. Those conditions are a fast track to warped frames, mould, and faded prints.
A dry, interior room is your best bet. When you lean your pictures against a wall, never let the frame rest directly against the paintwork. It's a simple mistake that can leave scuffs on your lovely new walls and scratch your frames. Just slide a big, flattened piece of cardboard between the wall and the artwork. This simple buffer protects both surfaces perfectly.
By seeing these final steps through, you ensure that your efforts in learning how to pack pictures for moving pay off exactly as they should – with your cherished pieces settling into their new home in pristine, ready-to-hang condition.
Common Questions About Packing Pictures
Even with a solid plan, a few questions always seem to pop up when you start the hands-on job of packing your treasured pictures. Getting straight answers can be the difference between a smooth job and a stressful one. Here are some of the most common challenges we see people run into.
Can I Use Towels and Blankets Instead of Bubble Wrap?
Yes, for less valuable or really sturdy frames, towels and blankets can be a budget-friendly substitute for bubble wrap. Just remember, they don't have the specialised shock absorption that professional materials do. If you go down this route, always apply masking tape in an 'X' across any glass first.
Make sure the blanket is thick, wraps the item completely, and is secured tightly with packing tape so it can’t unravel in transit. For anything truly valuable or sentimental, though, investing in proper packing materials is always the safest bet.
How Do I Pack an Oversized or Oddly Shaped Mirror?
For those massive or unusually shaped items that just won’t fit into a standard picture box, the best solution is to create your own custom crate from cardboard.
- Create Your Base: Get two large, flattened cardboard boxes. Lay your wrapped mirror on one sheet and trace an outline, leaving a few inches of buffer space all around it.
- Make the Back: Cut out an identical second piece of cardboard to act as the back of your custom sleeve.
- Form the Sides: Cut long cardboard strips and fold them to create the sides, then securely tape everything together to make a snug, custom-fit container.
- Reinforce Everything: Be generous with the packing tape. Heavily reinforce all the seams and corners to give it maximum strength and rigidity.
This method ensures even the most awkward items get a snug, protective home for the move.
What Is the Biggest Mistake People Make?
The most common and costly mistake is packing or loading pictures flat. This position concentrates all the pressure and road vibrations onto the weakest point—the glass—making breakage almost inevitable. Every picture, mirror, and canvas must always be packed, carried, and transported vertically on its edge to ensure its safety.
For more detailed answers, you can also explore our Frequently Asked Questions page.


