Published on : 01 December 2025
Moving house packing tips: Your quick UK relocation guide
Great packing really boils down to one simple idea: start early and stay organised. The secret is to chop up what feels like a monumental task into smaller, manageable stages. You’ll begin with the non-essential stuff weeks in advance and work your way methodically through the house. It's this strategic approach that saves you from that last-minute panic and makes for a much smoother move.
Your Strategic Moving and Packing Timeline
Moving house doesn't have to descend into total chaos. A smart timeline is your best defence against stress, turning the packing marathon into a series of achievable sprints. This framework is all about giving you back control, ensuring you feel prepared, not panicked, when moving day finally rolls around.
The best strategy kicks off about six weeks before your move. This first phase is all about planning and decluttering. Start by sorting through the rooms you use the least, like the spare bedroom or the loft. This is your golden opportunity to decide what to keep, donate, or get rid of before you waste time and energy putting it in a box. It’s also the perfect time to get your removal services researched and booked.
Why Early Booking Is Crucial
Booking your movers well in advance is non-negotiable. Seriously. The UK's busiest moving day in 2025 is projected to be Friday, 29th August, with over 22,386 moves expected on that one day alone—that's four times the daily average. It’s not just about securing a slot, either. Households that start packing early report 30% fewer last-minute problems and a 25% reduction in stress.
The timeline below breaks down the key phases of a successful packing plan, helping you visualise the weeks ahead.

As you can see, breaking the process into distinct stages—from six weeks out to the final day—makes the entire move feel so much more manageable.
To give you a clearer view, here's a quick summary of the key tasks for each timeframe.
Six-Week Packing Timeline At a Glance
A summary of key packing tasks organised by weeks leading up to your move, helping you stay on track.
| Timeframe | Key Tasks |
|---|---|
| 6 Weeks Out | Start a major declutter. Research and book your removal company. Order packing supplies. |
| 4 Weeks Out | Begin packing non-essential items from least-used rooms (loft, garage, spare rooms). |
| 2 Weeks Out | Pack most rooms, focusing on books, decorative items, and out-of-season clothing. Confirm all moving day arrangements. |
| 1 Week Out | Pack up the kitchen and bathroom, leaving only daily essentials. Prepare your "essentials box" for moving day. |
| Moving Day | Keep your essentials box with you. Do a final sweep of the empty house. Supervise the movers at the new property. |
This simple schedule helps you stay on the front foot, tackling jobs in a logical order without feeling completely swamped.
The Final Weeks Countdown
With about two weeks to go, the packing gets serious. Start focusing on things you won't need on a daily basis, like books, ornaments, and any out-of-season clothes. This is also when you should be confirming all the final details with your removal company and starting to notify utility providers of your moving date.
The goal isn't just to pack, but to pack with purpose. Each box you get sealed early on is one less thing to worry about during those final, hectic days.
In the last week, your focus should shift to the everyday essentials. Pack up the kitchen, leaving out just a few key utensils and plates. You'll also want to prepare an "essentials box" with everything you'll need the second you walk into your new home: a kettle, tea bags, mugs, toiletries, phone chargers, and some basic tools. For a detailed list to make sure you don't miss a thing, check out our comprehensive moving house packing checklist. Trust me, this phased approach is the most effective packing tip you'll get.
Assembling Your Essential Packing Toolkit
Trying to move house with flimsy boxes and cheap tape is a recipe for disaster. I’ve seen it countless times. Investing in quality materials isn't an extra expense; it's basic insurance for your belongings, saving you from costly damage and a world of stress. A professional-grade packing kit is the absolute foundation of a smooth move.
The quality of your supplies has a direct impact on whether your things arrive in one piece. While data shows 68% of UK households use cardboard boxes for moving, a frustrating 18% of movers still report damage to their items. Using the right, sturdy materials can slash that risk.
The Core Components Of Your Kit
Before you even think about taping up a single box, get your entire toolkit assembled. This simple prep work saves you from those last-minute, momentum-killing dashes to the shops.
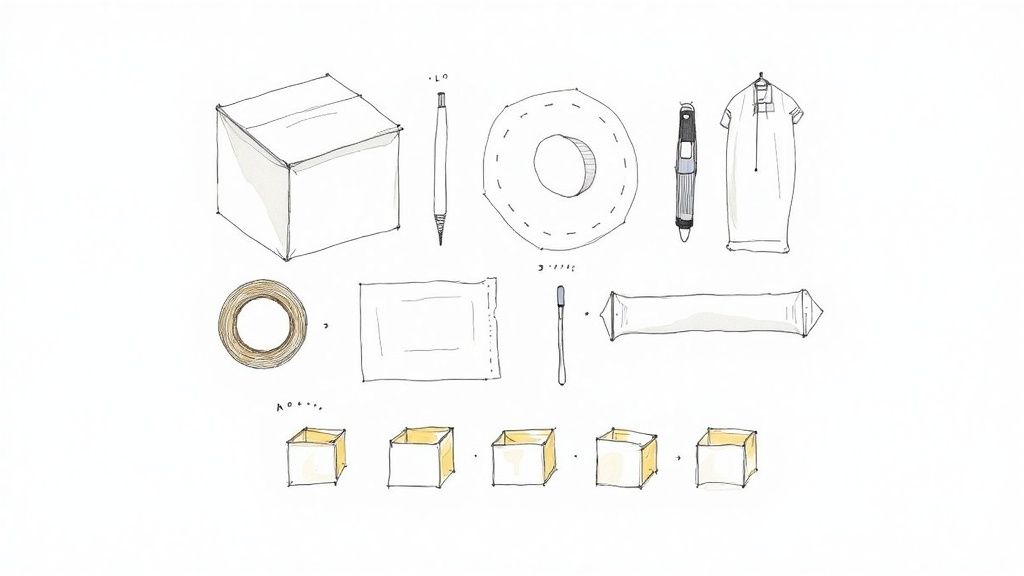
Here's your list of non-negotiables:
- Double-Walled Boxes: These are the workhorses of any move, essential for anything heavy like books, kitchenware, and tools. The dual-layer construction gives them far superior strength and stops the bottom from giving way under pressure.
- Quality Packing Tape: Whatever you do, don't skimp here. A strong, wide adhesive tape is the only thing stopping your boxes from spilling open in the back of the van.
- Bubble Wrap & Packing Paper: Use bubble wrap for the really delicate stuff – glassware, electronics, and ornaments. Plain packing paper is perfect for wrapping everyday items and scrunching up to fill any gaps.
- Permanent Markers: A handful of bold, black markers is vital for a clear and effective labelling system. This is non-negotiable.
- A Utility Knife: For safely opening boxes at your new home without accidentally slicing through the contents.
When you're gathering your supplies, it's worth checking out retailers of essential self-storage packing supplies, as they almost always stock the durable, professional-grade materials you need.
Speciality Boxes Worth Considering
Beyond the standard shapes and sizes, a few specialised boxes can be absolute lifesavers. They're designed to solve common packing headaches and give extra protection to specific belongings.
Wardrobe boxes, for instance, are a complete game-changer. They come with a built-in hanging rail, allowing you to move clothes straight from your closet to the box without any folding. It saves a phenomenal amount of time packing and unpacking, and all your outfits arrive crease-free.
A common mistake is trying to make one box size fit all purposes. Using the right box for the right job not only protects your items but also makes loading the removal van far more efficient.
Another brilliant option is a dedicated picture or mirror box. These are specifically designed to protect framed art, photos, and mirrors, which are notoriously awkward and fragile. Their reinforced structure offers much better protection than just wrapping them in an old blanket and hoping for the best.
To take all the guesswork out of it, you might want to look into one of our complete home moving kits. We've bundled everything you need based on the size of your property, ensuring you have the right mix of materials from the very start so you can focus on the job of packing.
Practical Room-By-Room Packing Strategies
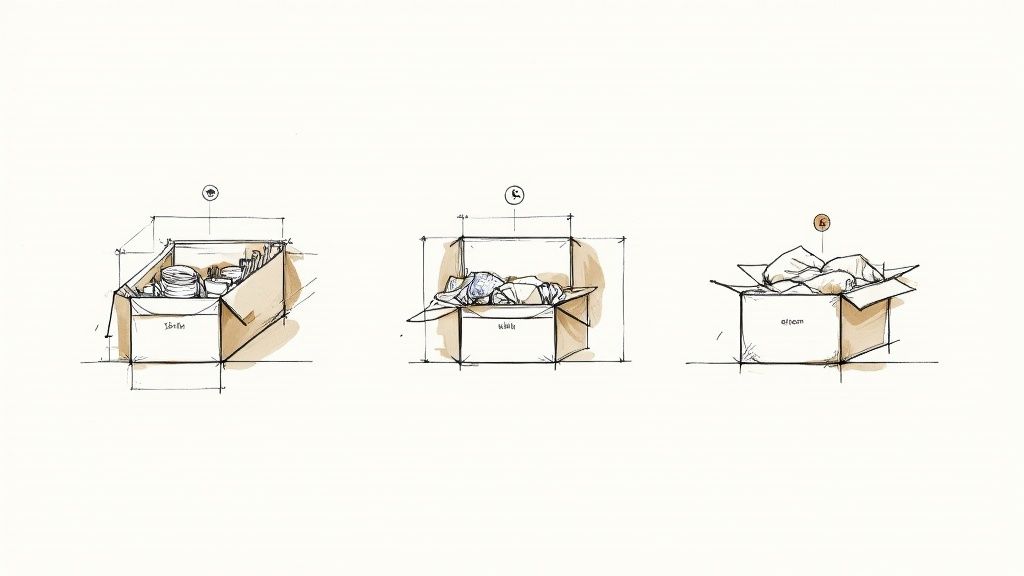
The secret to a sane move is a simple, room-by-room system. Forget randomly filling boxes – that’s a direct route to chaos at both ends of your journey. Instead, conquer one space at a time. Start with the rooms you use the least and work your way towards the high-traffic areas like the kitchen.
This method does more than just keep you organised; it makes unpacking a hundred times easier. Imagine arriving at your new home and knowing instantly which boxes belong in the spare bedroom and which go straight to the kitchen. Trust me, it’s one of the most effective packing tips you’ll ever get.
The Kitchen Conundrum
The kitchen is, without a doubt, the most challenging room to pack. It’s full of fragile, heavy, and awkwardly shaped items. From the kettle to your entire cutlery drawer, everything needs proper attention. Before you even start, have a good clear-out of cupboards. There's no point in carefully packing a waffle maker you haven't used since 2012.
Your game plan here needs to be methodical:
- Plates and Bowls: Use the nesting method. Place a sheet of packing paper between each plate, stack five or six together, and then wrap the entire bundle. Crucially, always pack plates vertically in the box—like records in a crate. This drastically reduces the risk of breakages.
- Glassware: Every single glass needs to be wrapped individually in paper. Make sure you stuff some paper inside the glass too, as this adds internal support. If you have a lot of wine glasses or tumblers, speciality boxes with cardboard dividers are worth their weight in gold.
- Cutlery: Don't just chuck loose knives and forks into a box. Bundle them into sets with rubber bands and then wrap the bundles in packing paper or old tea towels to stop them from piercing the cardboard.
For small appliances like toasters and coffee machines, the original box is always your best bet if you still have it. If not, a sturdy, medium-sized box will do the trick. Just make sure to fill any gaps around the item with scrunched-up paper or tea towels to stop it from sliding around.
Living Room and Bedroom Logic
The living room is usually full of electronics and delicate ornaments, while the bedroom has bulky bedding and clothes. Each needs a slightly different approach for safe, efficient packing.
When it comes to electronics like your TV or sound system, the original packaging is king. If that’s long gone, wrap them carefully in soft blankets or bubble wrap, paying extra attention to the corners. Pack them snugly into a strong, double-walled box and plaster it with 'FRAGILE' labels.
A wardrobe box is a total game-changer for your clothes. You can move everything on hangers straight from your wardrobe into the box. It saves you hours of folding now and even more hours of ironing later.
Bedding, pillows, and duvets can take up a shocking amount of space. The best trick is to use vacuum-sealed bags to shrink them down to a fraction of their size. This not only frees up a huge amount of room in the removal van but also keeps all your linens clean and fresh during the move. For more ideas on cutting down the clutter, our guide on decluttering your home before moving has some fantastic advice.
Tackling The Forgotten Zones
Finally, whatever you do, don't leave the bathroom and garage until the last minute. These spaces often contain liquids, sharp tools, and heavy gear that all need special handling.
In the bathroom, your main enemy is leaks. Put a bit of packing tape over the lids of all your toiletries to keep them sealed shut. It’s also smart to pop them inside a waterproof bag before they go into a small, sturdy box.
For the garage, bundle long-handled tools like rakes and brooms together with tape or twine to make them easier to carry. Any sharp blades on saws or shears should be wrapped securely with a few layers of cardboard and tape. Most removal companies will not transport flammable liquids or chemicals, so make sure you dispose of these properly beforehand. A careful, methodical approach like this is the key to a much less stressful packing experience.
Protecting Fragile and High-Value Possessions
Right, let’s talk about the important stuff. Your most cherished belongings—whether it's granny's old china, a delicate sculpture, or your expensive tech—deserve a bit of special treatment during a move. Your standard packing methods just won't cut it here. A few professional techniques are all it takes to make sure they arrive at your new home in one piece.
It all boils down to one simple idea: creating a soft, secure nest. The golden rule I always tell people is this: nothing should be able to shift inside the box. Even the slightest movement in the back of a van can lead to an impact, and that’s how you get chips, cracks, and heartbreaking breakages. This means using plenty of cushioning not just around your item, but also to fill every single last gap.
Core Techniques for Delicate Items
Glassware and crockery are the number one casualties of a badly packed move. I've seen it happen time and time again. The secret is to isolate every single piece. Never, ever let glass touch glass or ceramic touch ceramic.
- Wrap Individually: Every single plate, bowl, and glass needs its own layer of packing paper. For a pro-level touch, stuff a scrunched-up ball of paper inside glasses and mugs. This adds some crucial internal support.
- Nest and Bundle: Once wrapped, stack plates or bowls in small bundles of three or four. Pop an extra sheet of paper between each one before wrapping the whole little stack together.
- Pack Vertically: This is the big one. Always, always place plates, platters, and even picture frames into the box on their side, like you’re stacking records in a crate. They are so much stronger this way and far less likely to crack under the weight of other items.
Bubble wrap is your best friend for the really delicate things, giving you a proper air-cushioned layer that paper alone just can't match. To get the most out of it, our guide on how to pack fragile items with bubble wrap has some fantastic, specific tips.
For a quick overview of how to approach different tricky items, this table breaks down the essentials.
Specialty Item Packing Guide
| Item Type | Recommended Box | Primary Wrapping Material | Key Tip |
|---|---|---|---|
| Plates & Bowls | Medium Double-Wall Box | Packing Paper | Pack vertically on their side, never flat. |
| Glasses & Mugs | Small Double-Wall Box (with dividers if possible) | Packing Paper & Bubble Wrap | Stuff paper inside for internal support before wrapping. |
| Lamps & Vases | Medium/Large Double-Wall Box | Bubble Wrap & Packing Paper | Remove the lampshade and bulb; pack them separately. |
| Picture Frames | Picture/Mirror Box or Double-Wall Box | Bubble Wrap & Cardboard Corner Protectors | Create an 'X' with masking tape over the glass to stop it shattering if it breaks. |
| Electronics | Original Box (if possible) or Double-Wall Box | Bubble Wrap & Packing Paper | Take photos of the cable setup before unplugging everything. |
This at-a-glance guide should help you match the right materials and methods to your most common breakables, taking the guesswork out of the process.
The Box-in-a-Box Method
For those exceptionally fragile or valuable pieces—a porcelain figurine, a delicate antique—the 'box-in-a-box' technique is your ultimate safeguard. It essentially creates a shock-absorbing buffer zone around your item.
First, wrap the item generously in bubble wrap and place it snugly into a small, sturdy box. Fill any and all gaps with packing peanuts or crumpled paper. Seal that box, then place it inside a larger, stronger one. You need to leave at least two inches of space on all sides, which you'll then fill with more cushioning. This clever method ensures your item is floating safely within multiple protective layers.
Taking a quick digital photo inventory of your high-value possessions before you pack them is a crucial step. It gives you a clear record for insurance purposes should the worst happen and provides complete peace of mind.
Finally, a word of advice for the truly irreplaceable things like important documents, jewellery, or precious family photo albums. The best moving tip is to not pack them at all. Keep these high-value possessions with you in the car and transport them personally. No packing method on earth can replace the security of having your most important things by your side.
Mastering Your Labelling and Inventory System
Let’s talk about the unsung hero of a stress-free move: a great labelling system. It’s the one thing that can turn the chaos of unpacking into a calm, methodical process. Forget just scrawling ‘Kitchen’ on a box and hoping for the best. Taking a few extra minutes to create a proper system will save you hours of frantically searching for the kettle in a sea of identical brown boxes.
This simple step has a massive impact. Research shows that a whopping 70% of movers who label their boxes properly report a smoother unpacking experience, cutting down the time they spend organising by around 25%. Given that 62% of UK movers feel totally overwhelmed by the process, anything that dials down the stress is a huge win.
Creating a System That Works
The best labelling systems are always simple but effective. The goal is to see, at a single glance, exactly where a box needs to go and what’s inside, without having to rip it open. This makes life easier for you and for your removal team, helping them put boxes in the right rooms from the very start.
Here's how to nail it:
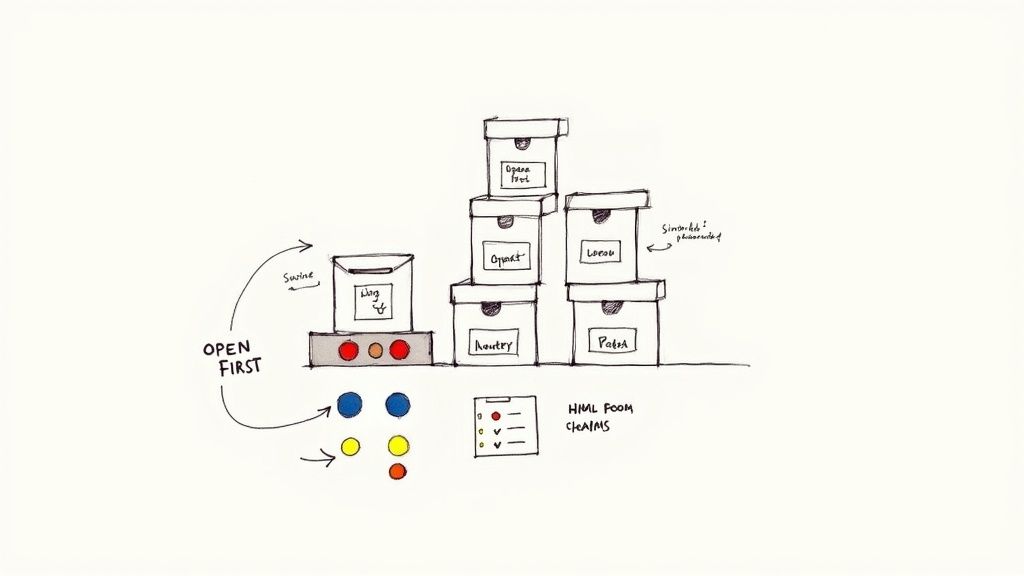
- Colour-Code by Room: This is a classic for a reason. Assign a different coloured marker or sticker to each room—blue for the master bedroom, green for the kitchen, red for the living room. It’s an incredibly fast visual cue for everyone involved.
- Number Every Box: Give each box a unique number (e.g., Kitchen 1, Kitchen 2, Kitchen 3). This is absolutely vital for your inventory, which we’ll get to in a moment.
- List Key Contents: Be a little more specific. Instead of just ‘Kitchen’, jot down a few key items on the side, like ‘Kettle, toaster, mugs’. You'll thank yourself later.
- Add Handling Instructions: Use a thick, bold marker to add crucial info like ‘FRAGILE’, ‘THIS WAY UP’, or ‘OPEN FIRST’. To make this part even quicker, you can get high-quality, pre-printed rolls of 1000 labels that stick on in seconds.
For a really organised move, you could even order custom labels for moving boxes that clearly state the contents and their destination room.
Your ‘Open First’ box is your moving day lifeline. Pack it with absolute essentials like toiletries, phone chargers, tea, coffee, a couple of mugs, and basic tools. Crucially, keep this box with you in the car, not on the moving van.
Your Simple Home Inventory
An inventory might sound like a bit of overkill, but trust me, it’s your ultimate tool for peace of mind. It doesn't need to be complicated at all. A simple spreadsheet or even a dedicated notes app on your phone will do the job perfectly.
Just create columns for the box number, the room it belongs in, and a brief description of what's inside. As you load boxes onto the van, you can check off each number. When you unload at the new place, you do the same. This way, you’ll know instantly if anything has gone astray and you’ll have a clear record for insurance purposes if the worst should happen.
Got a Question? We’ve Got the Answer
Even with the best plan in the world, moving house always throws up a few curveballs. It’s completely normal. You're knee-deep in boxes and suddenly a tricky little question pops into your head.
Think of this as your go-to guide for those "what on earth do I do with...?" moments. Here are some clear, straightforward answers to the most common packing dilemmas we see all the time.
First up, a classic: do you really need to empty out all your drawers before the move? Well, it depends. If you’ve got a sturdy, solid wood chest of drawers, you can often get away with leaving light, non-fragile things like clothes or bedding inside. Just make sure you secure the drawers shut with a bit of packing tape or cling film so they don’t slide open on the lorry.
However, for any flat-pack furniture, it’s always best to empty it completely. The extra weight can put a huge amount of stress on the joints and frame during transit, and it’s just not worth the risk.
Handling Food and Perishables
What about the kitchen cupboards and freezer? This is a big one. The best approach, honestly, is to try and eat your way through as much of your food as possible in the weeks leading up to the move. It massively simplifies the packing process and cuts down on waste.
For your non-perishable items like tins, jars, and pasta, you can pack them into small, sturdy boxes. A word of warning here: be mindful of the weight. A large box filled to the brim with tins is a recipe for a bad back and a broken box. Keep them small and manageable.
The contents of your freezer are a different challenge altogether. Most removal companies won’t move frozen food, especially over long distances, for obvious hygiene and safety reasons. Your best bet is to pack it into a cooler box with ice packs and transport it yourself, but only if you have a short journey ahead.
What Removal Companies Will Not Take
It’s really important to know that professional movers have a list of prohibited items they legally and safely cannot transport. You might be surprised by some of the things on the list.
Here are a few of the most common no-go items:
- Hazardous Materials: This covers anything from paint, chemicals, and gas canisters to aerosols and other flammable liquids.
- Pets and Plants: The back of a moving van is simply not a safe or suitable environment for any living thing.
- Valuables and Personal Documents: You should always keep things like jewellery, passports, birth certificates, and important financial papers with you personally.
And finally, here’s a quick packing hack that can save your back: use your suitcases! They are absolutely perfect for packing really heavy items like books. Because they have wheels, they’re a doddle to move around compared to a back-breakingly heavy box. It’s a simple trick that saves space and a lot of effort.
For all the professional-grade boxes, tape, and protective wrap you'll need to put these tips into action, trust The Box Warehouse. Find your complete moving kit on our website.


